
VEHICLE-MOUNTED BRAKE CONTROLLER


WHAT IS THE VM1?
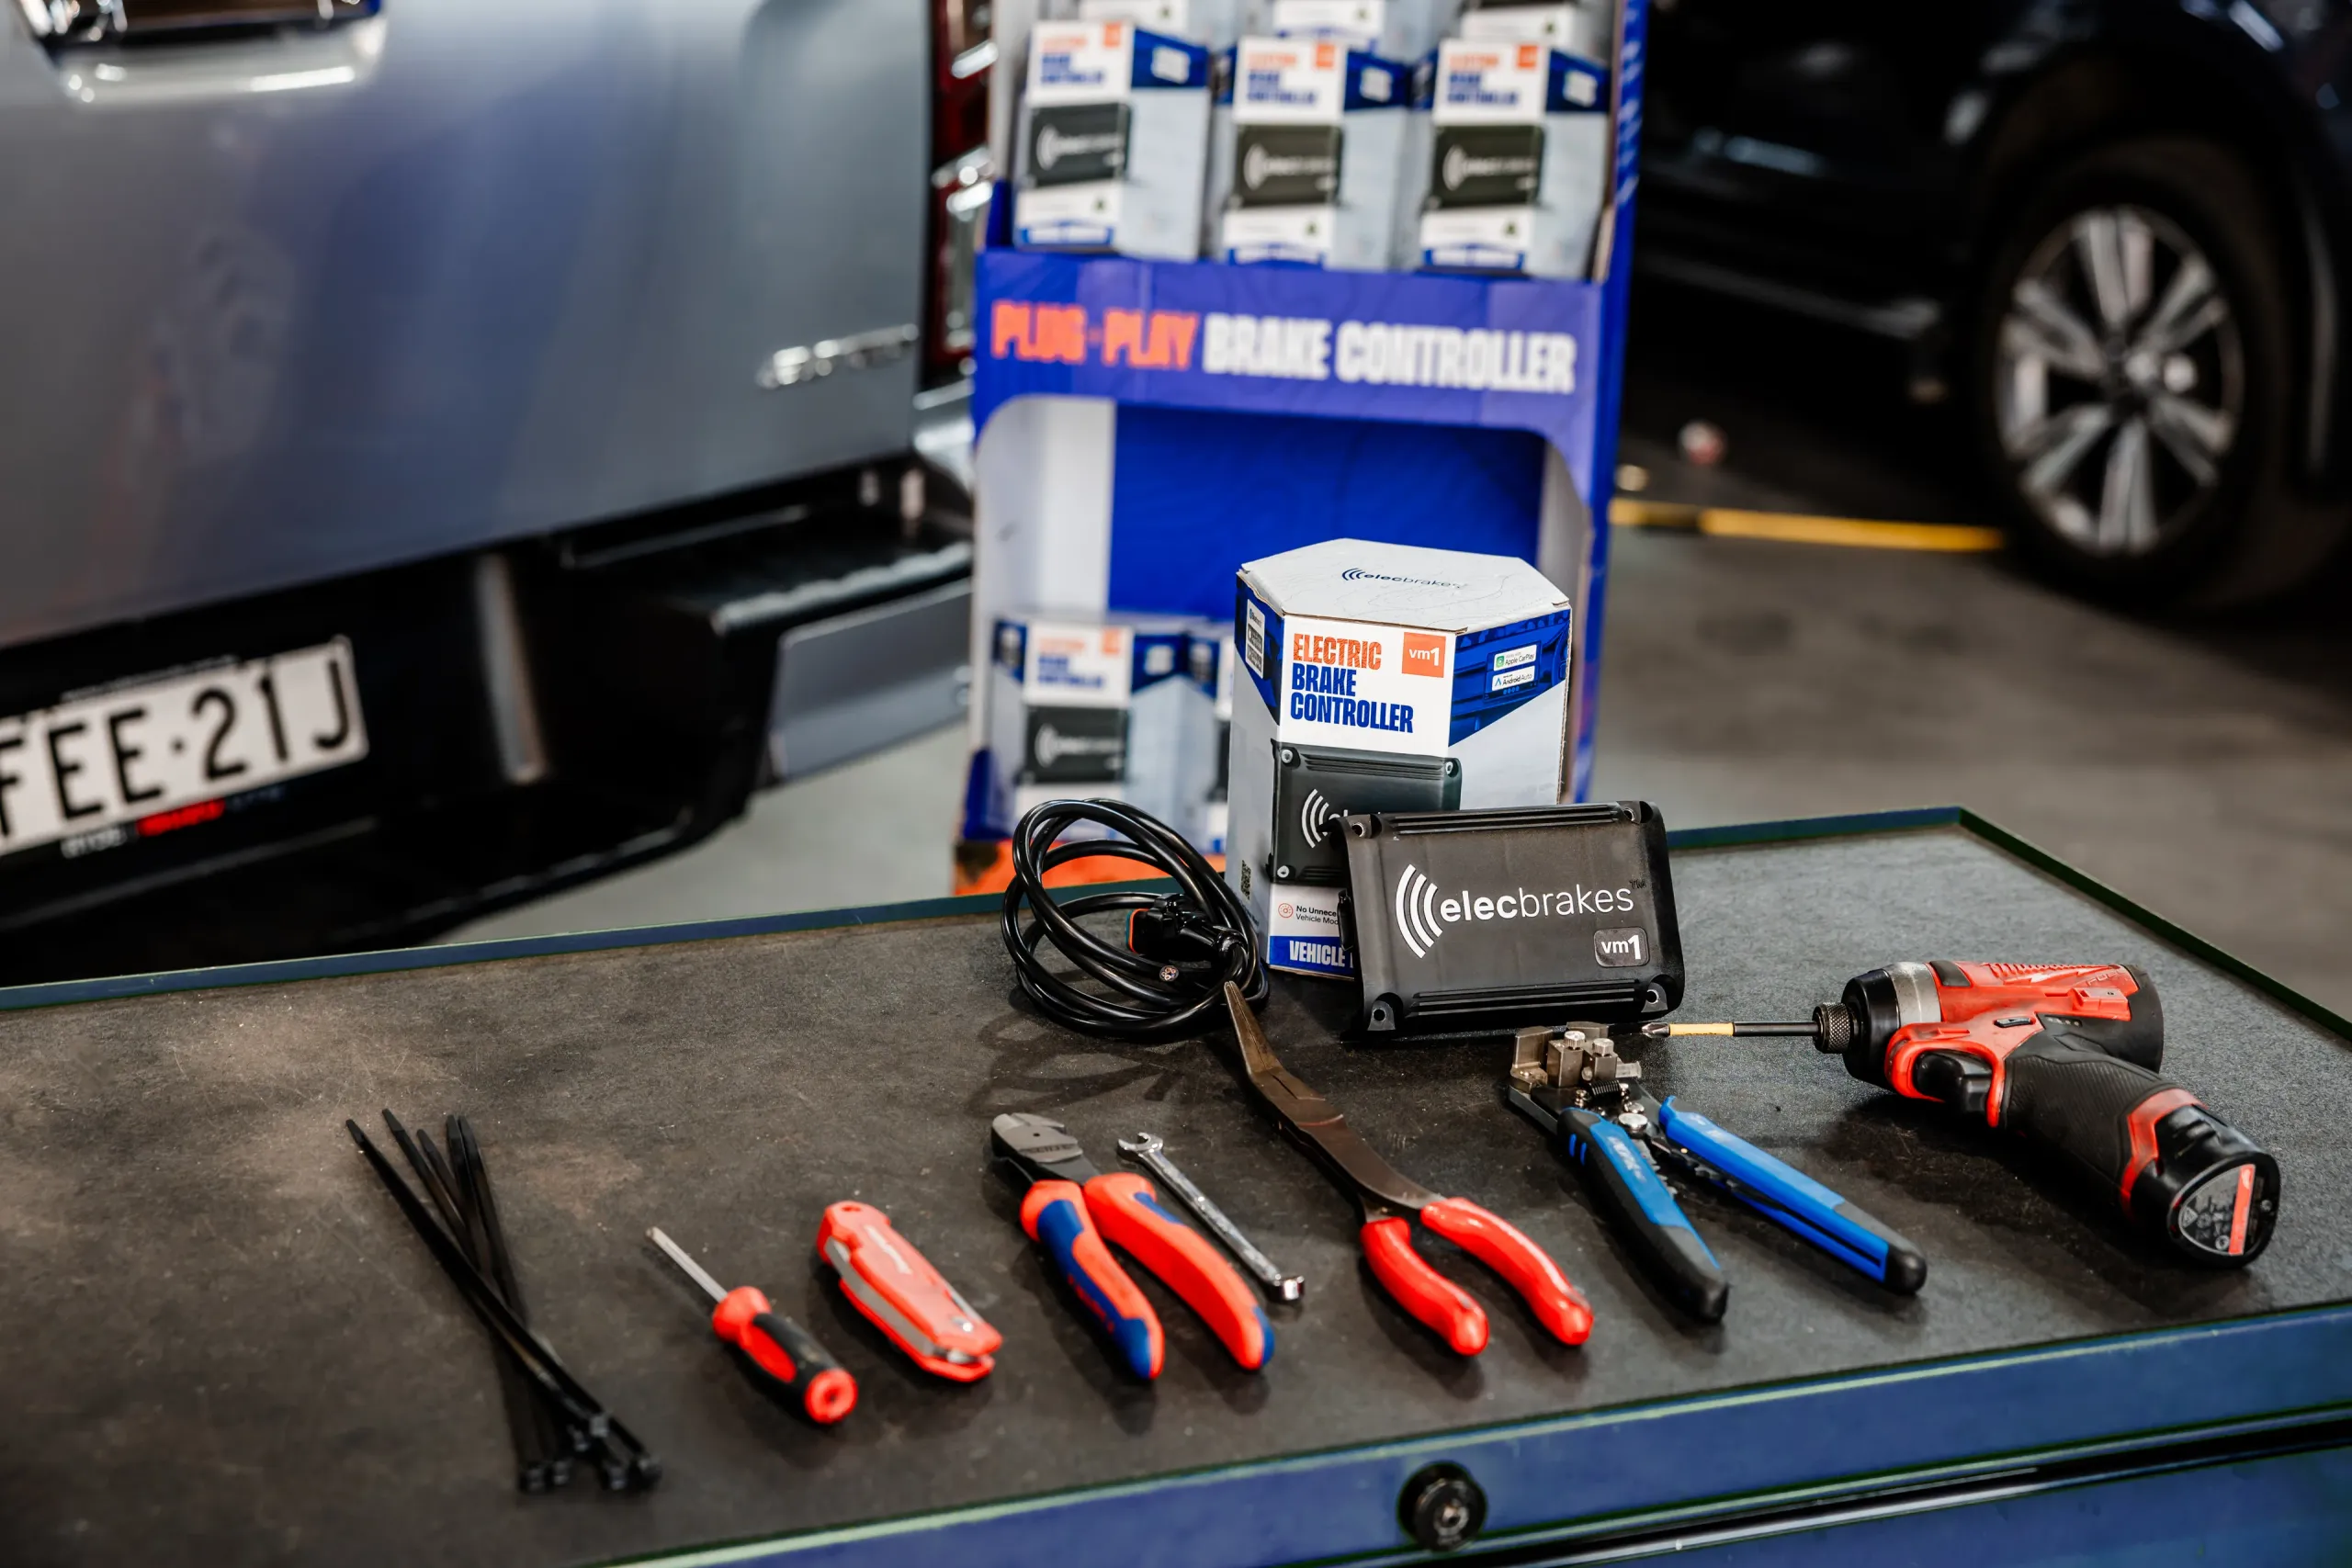
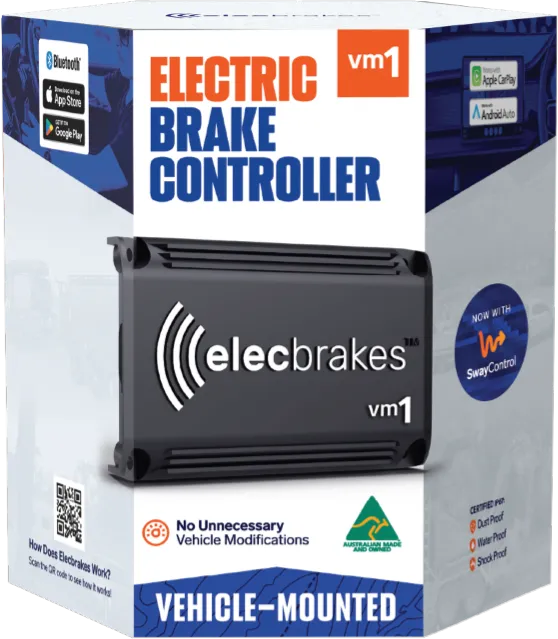
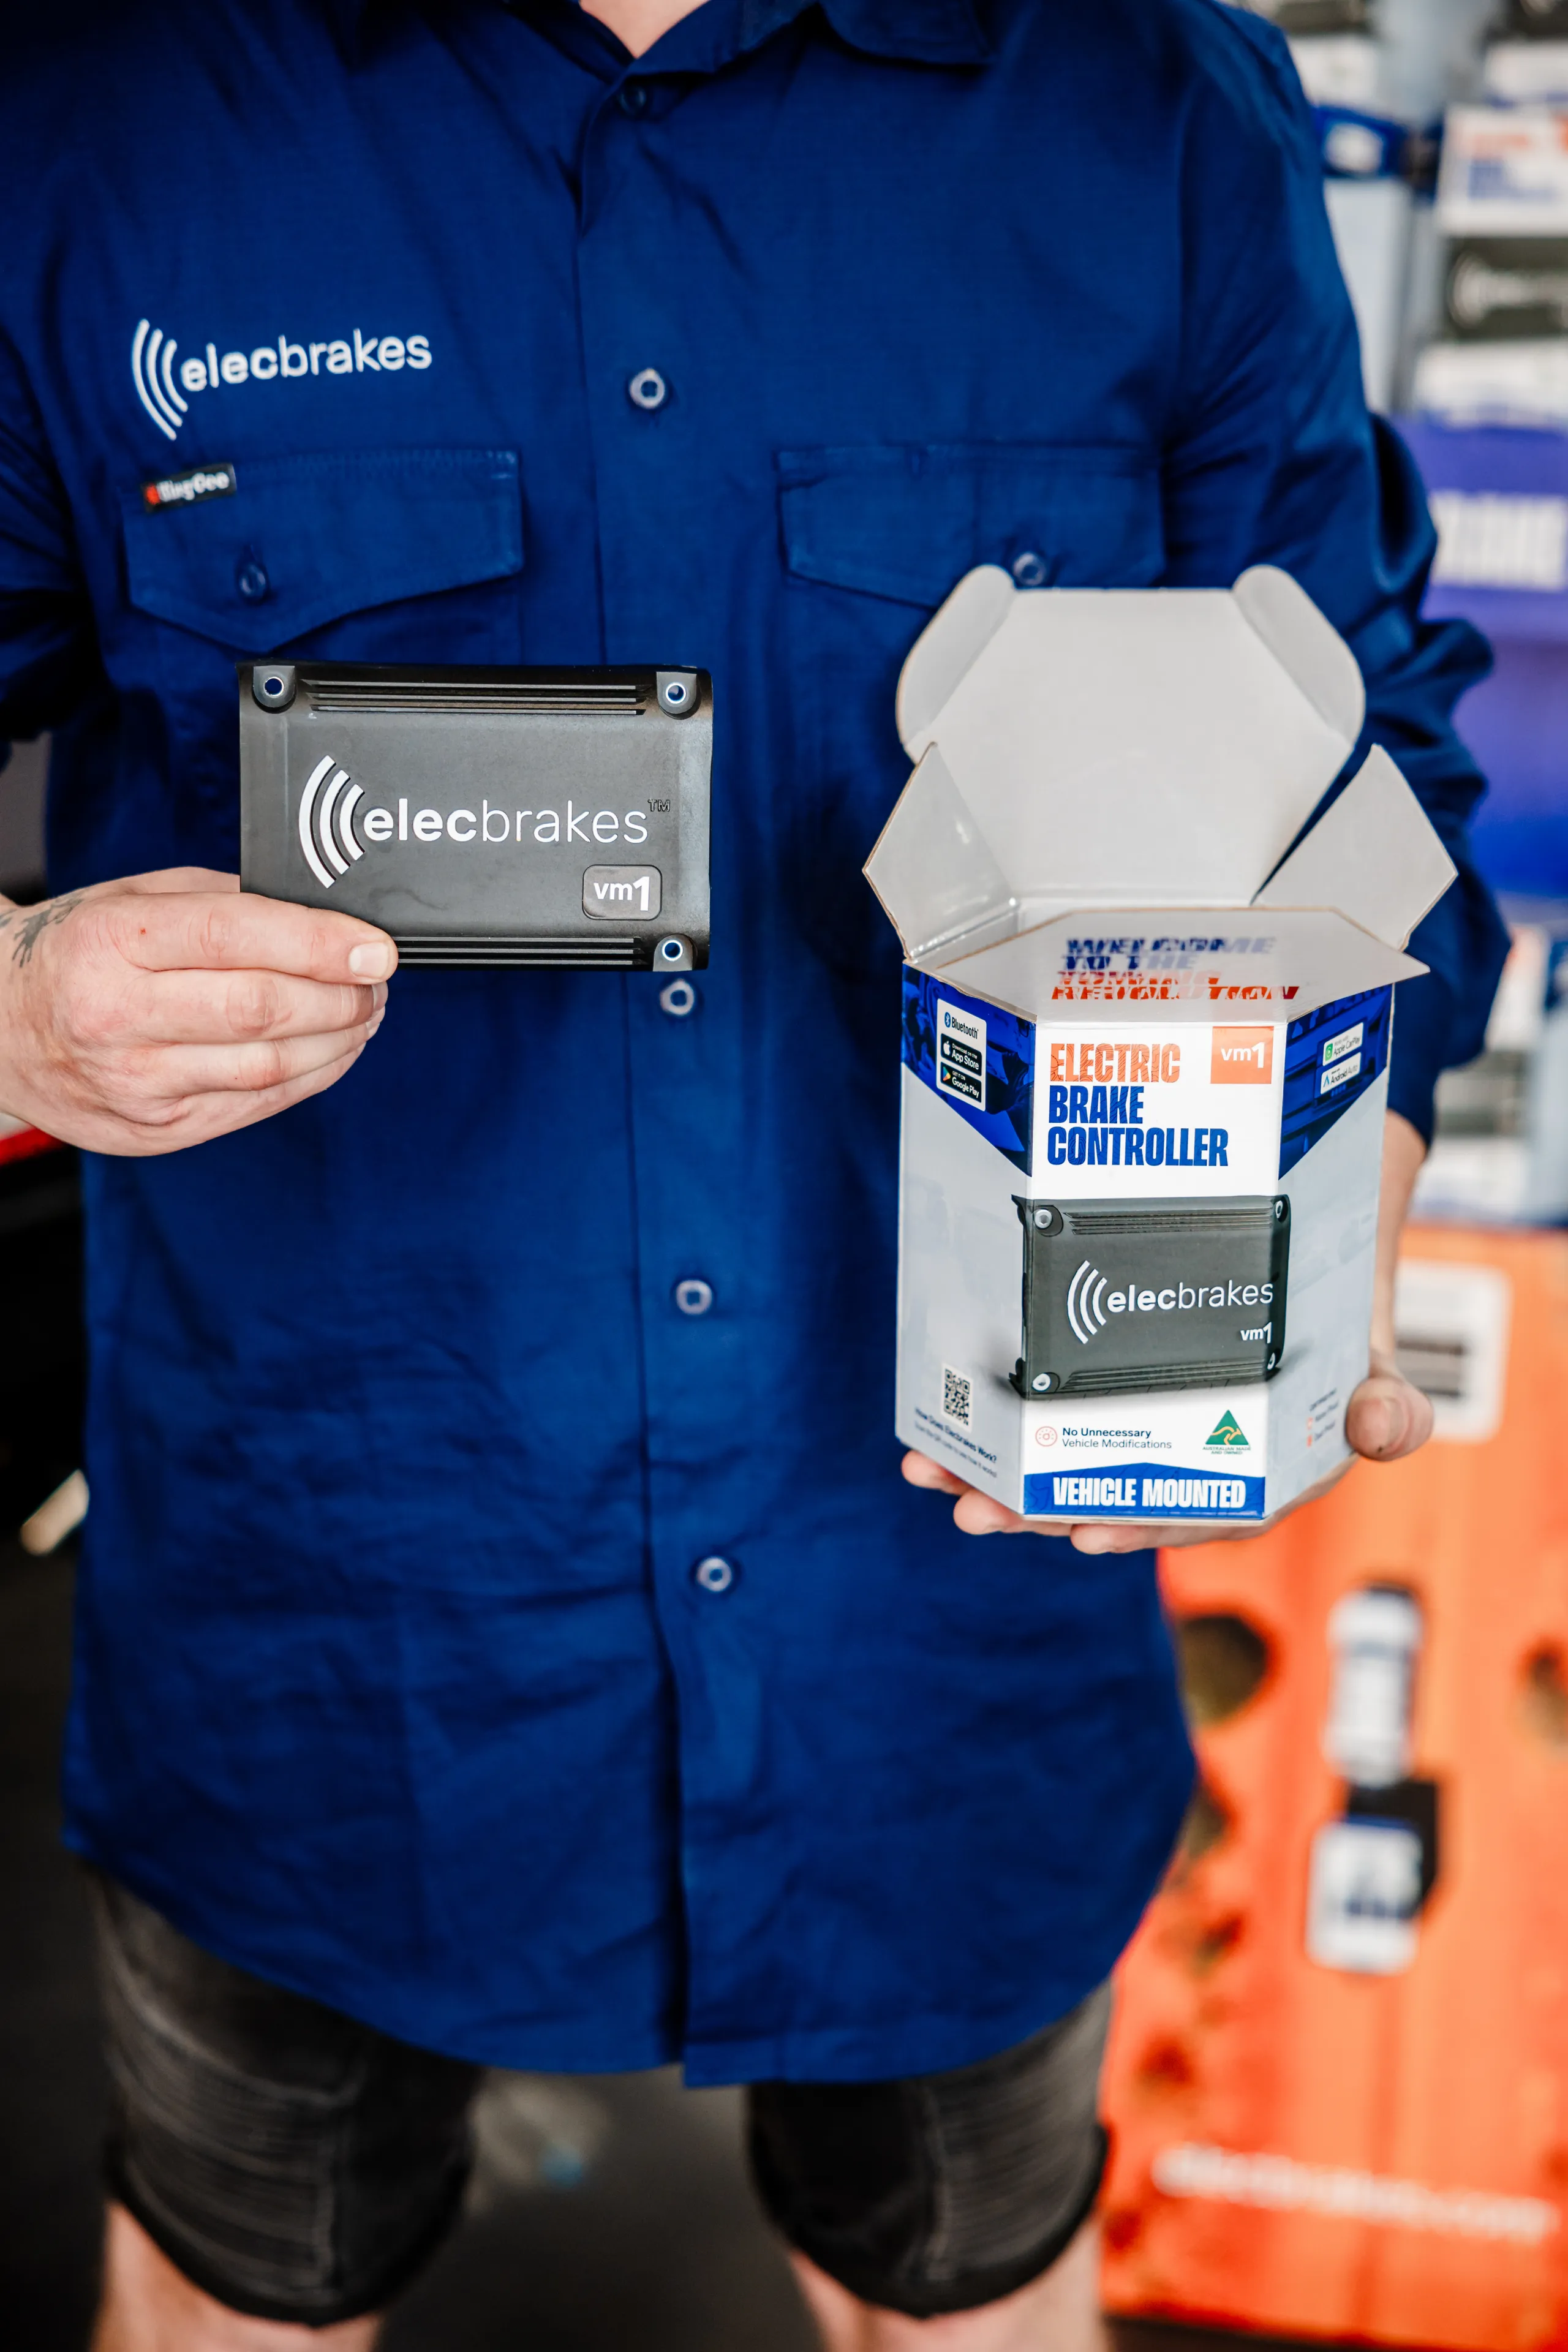
The new standard for vehicle-mounted brake controllers. Designed for modern Australian towers with multiple trailers for work and leisure, VM1 combines customisable braking profiles, integrated SwayControl technology, and total system visibility, without any dashboard modifications.
When you brake the tow vehicle, the VM1 applies a proportional amount of force to the trailer brakes, ensuring a smooth and controlled towing experience, no matter the load. The VM1 integrates seamlessly with Apple CarPlay and Android Auto™, giving you real-time control and diagnostics directly from your vehicle’s dashboard for an intuitive towing experience.
The VM1 is designed for fast and simple integration with your vehicle’s existing circuits, ensuring consistent performance. Professional installation is recommended for optimal results.
Watch: How it works
Ready to buy?
From A$699
FIND A STOCKISTKEY FEATURES
Discover the key features that make VM1 easier to integrate, simpler to control, and purpose-built for dedicated towing setups.

Integrated SwayControl Technology
Built-in SwayControl for every trailer you tow. No costly trailer modifications or add-on hardware required. Saves you thousands compared to traditional sway solutions.

Customisable User Control
Fine-tune your towing setup with highly definable brake settings. Store and switch between profiles for work trailers, caravans, boats, livestock floats, equipment trailers and more. Set once and tow with confidence every time.

Simple Install, No Dashboard Drilling
VM1 offers simple installation with no in-car modifications. It mounts discreetly near the vehicle’s towbar and is wired directly into the trailer socket, keeping your dashboard intact.

World-First Apple CarPlay & Android Auto™ Compatibility
Full braking visibility and diagnostics in real-time through the Elecbrakes App, seamlessly integrated with your vehicle's display.

Built Tough for Australia
IP67-rated. Dust proof, water proof, and shock proof. Australian-designed, tested, and manufactured for our harshest conditions.

Advanced User Interface
Intuitive feedback, diagnostics & real-time control. The Elecbrakes App delivers complete system visibility, live monitoring, diagnostics, and notifications through one easy-to-use platform.
FOR EVERY APPLICATION
VM1 adapts to any trailer type, automatically calibrating the braking response for the specific load and towing conditions.

INSTALLATION STEPS
Follow these steps to install, connect and configure your VM1 brake controller before towing.
- 1
Mount your VM1
Select a rigid mounting location on your vehicle, such as the luggage compartment, rear quarter panel, ute tray or vehicle underbody. Secure the VM1 using the supplied screws. It can be mounted vertically or horizontally, provided one face or edge is parallel to the ground.
- 2
Wire your VM1
Hardwire the supplied cable into the vehicle’s trailer socket, then plug the other end into the VM1. The VM1 is compatible with both 7-pin and 12-pin sockets.
- 3
Download the app
Download the Elecbrakes app from the App Store or Google Play.
- 4
Power and connect to your VM1
Start your vehicle and open the app. Select the VM1 from the device list. Once paired, press and hold the brake pedal, then open the Data tab. Check that a green light appears next to Auxiliary and that the voltage reading is at least 10V. This confirms that the VM1 is receiving sufficient auxiliary power. A green light should also appear next to Brake Light, indicating that the VM1 is receiving a signal from your vehicle’s brake light circuit.
- 5
Configure and test
Follow the guided steps in the app to adjust your braking responses. Test your settings in a safe location before towing.
Using the Elecbrakes Remote?
Complete the initial setup using the Elecbrakes app before pairing your Elecbrakes V3 Remote. The Remote must remain connected to USB power while in use.
For complete installation, setup and operating instructions, refer to the Resources & Support section below.
VM1 SPECS
Core electrical, fitment and environmental specs for VM1.
| Spec.Specification | Details |
|---|---|
| Input voltage | 10V – 28V |
| Max output voltage | 12V RMS |
| Output current | 24A continuous |
| Power supply | Auxiliary circuit only |
| Installation | Vehicle-mounted |
| Brake programs | 5 profiles |
| SwayControl | Integrated |
| Apple CarPlay / Android Auto™ | Compatible |
| Protection | IP67 |
| Weight | 410g |
| Dimensions | 140mm x 90mm x 40mm |
| In the box |
|
| Warranty | 2 Years |
RESOURCES & SUPPORT
Access key VM1 reference documents, installation guides, and find troubleshooting support through the Help Centre.
INSTALL VIDEOS
Watch step-by-step install and setup videos in our video library for a more visual guide to getting your VM1 configured.
HELP CENTRE
Get quick answers on install advice, troubleshooting, app connectivity, and product support from the Elecbrakes Help Centre.
WHAT OUR CUSTOMERS SAY
FREQUENTLY ASKED QUESTIONS
Elecbrakes offers two top-tier options: the EB2 Trailer-Mounted Brake Controller and the VM1 Vehicle-Mounted Brake Controller. Both are designed with unique benefits to cater to your specific towing needs, whether you are using multiple vehicles or multiple trailers.
With the EB2 mounted on your trailer, any vehicle can tow it without needing a brake controller installed. The VM1 is installed in your vehicle, letting you tow multiple trailers with a single vehicle.
Compare the two side by side on the products page to confidently select the best brake controller for your setup.
- VM1 Electric Brake Controller
- 1.5m wired leader
- 4x mounting screws
The VM1 does not need a plug and play adaptor, as it is installed using the wired leader supplied in the box. The Elecbrakes Remote is sold separately.
Yes. The VM1 requires a dedicated 25 amp 12V DC, or 12 amp 24V DC, auxiliary power circuit as its power source, and uses the brake light circuit as its trigger. VM1 supports up to 3 braked axles (24A output). It is good practice to check for an output of at least 10Vrms when sourcing auxiliary power.
If a new auxiliary circuit needs to be routed, power may be sourced from the tow vehicle's battery or an ignition triggered fuse block. If you are using an existing power source, make sure the amperage rating is suitable once you account for any other accessories sharing that circuit.
ELBC / EB2: The brake controller can be mounted directly to the trailer drawbar or crossbar, fastened with the 4x self tapping screws supplied. For drawbars narrower than 90mm, a mounting plate may be required, or choose an alternative location such as the underside of a tool box, the floor of the trailer, or other accessory brackets. The recommended mounting position is on the side of the drawbar, within 1m of the tow ball.
VM1: Preferably mounted to the rear of the vehicle in the boot area, rear quarter, ute tray, or vehicle underside, fastened with 4x self tapping screws supplied. Choose a practical location that allows the provided cable to reach the auxiliary power supply and the vehicle trailer socket wiring.
Make sure one side of the unit is parallel to the ground and within 1m of the tow ball, meaning behind the rear axle, for correct operation.
Refrain from mounting the brake controller inside a closed metal enclosure, as this may affect Bluetooth® signal reliability.
Mounting screws are provided which require tools to install and remove. Alternative fasteners such as security screws or pop rivets may be used to make the unit harder to detach. Alternatively, remove the brake controller while it is not in use for prolonged periods if the trailer is parked somewhere non-secure.
For ease of installation, we recommend the following:
- Elecbrakes brake controller kit
- Electric drill and relevant PPE
- 4.5mm drill bit
- No. 2 Phillips head driver bit
- Marker pen
- Lubricant
Once a suitable location for mounting is established, mark and pre-drill the mounting holes and screw the brake controller carefully in place.
Note: If required in an emergency, it is possible to temporarily secure the brake controller with cable ties, straps or other suitable fastenings. Make sure the brake controller cannot rotate or move while in use, as this will affect its calibration and output control.

FIND A STOCKIST
Find Your Nearest Authorised Dealer
Whether you’re ready to buy or simply exploring your options, our nationwide network of authorised stockists is ready to help.